Introduction:
- In the older versions of Liferay, cron expressions were used to develop schedulers; we have a better approach to doing the same in the latest Liferay.
Prerequisites:
- JDK 11
- Liferay 7.4
We can create a new class in any portlet by simply adding a Configuration Interface and a Job Scheduler class to it.
1) Create SchedulerConfiguration Interface
					// SchedulerConfiguration.java
@ExtendedObjectClassDefinition(category = "infrastructure")
@Meta.OCD(
		id = "com.liferay.scheduler.portlet.SchedulerConfiguration",
		localization = "content/Language",
		name = "liferay-Configuration-name"
	)
	public interface SchedulerConfiguration {
		@Meta.AD(
				deflt = "1", description = "liferay-scheduler",
				name = "Liferay Scheduler", required = false
			)
			public int interval();
	}
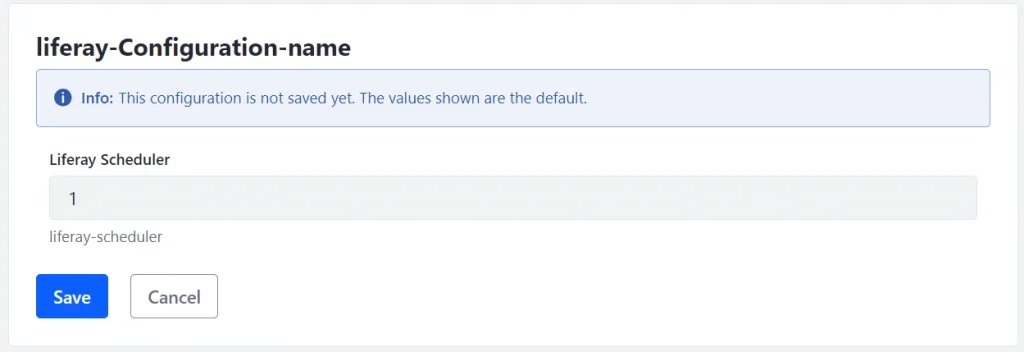
In this class, we are defining the basic configuration for our scheduler class.
Categorization: The @ExtendedObjectClassDefinition annotation, with the category parameter, allows us to categorize the configuration under a specific category, making it easier to organize and locate related settings in the administration interface. With categorization, we can adjust the interval time of our scheduler.
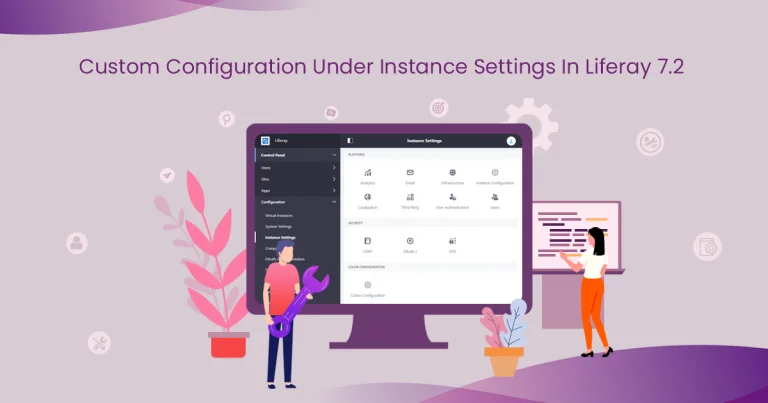
These configurations can be done from Control Panel → Configuration → System Setting → Infrastructure.
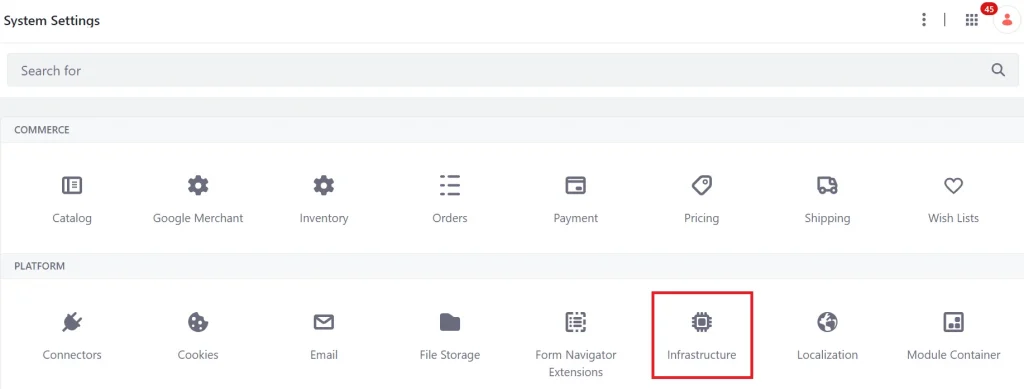
- In the ‘Infrastructure’ section, we can locate our scheduler.
2) Create Job Scheduler Class
- Create a Job Scheduler class and implement SchedulerJobConfiguration.
					// LiferaySchedulerJobConfiguration.java
public class LiferaySchedulerJobConfiguration implements SchedulerJobConfiguration {

}
- Now, we need to override all the methods required to implement the SchedulerJobConfiguration interface.
					// LiferaySchedulerJobConfiguration.java
public class LiferaySchedulerJobConfiguration implements SchedulerJobConfiguration {
	@Override
	public UnsafeRunnable<Exception> getJobExecutorUnsafeRunnable() {
		return null;

	}
	@Override
	public TriggerConfiguration getTriggerConfiguration() {
		return null;
	}
}
- Add @component annotation
- Now, add the @Component annotation just before and outside the class. This annotation is used to declare a class as a component that should be managed by the OSGi container.
@Component(configurationPid = "com.liferay.scheduler.portlet.LiferaySchedulerJobConfiguration", service = SchedulerJobConfiguration.class)
- Implementing Scheduler Job Work.
- We can implement our custom logic within the UnsafeRunnable method as follows
	@Override
	public UnsafeRunnable<Exception> getJobExecutorUnsafeRunnable() {
		return () -> {
			System.out.println("Hello Ignek Viewers :)");
		};
	}
- Triggering Scheduler
- In the TriggerConfiguration method, we specify the time interval for the scheduler and return it to our scheduler configuration interface.
- The time unit is determined by the value we set in the ‘Infrastructure iInterval field.
For example :- if our time unit is set to ‘Day’ and our interval time is ‘2,’ the scheduler will run every two days. The running time is calculated as the ‘TimeUnit * interval.
	@Override
	public TriggerConfiguration getTriggerConfiguration() {
		return TriggerConfiguration.createTriggerConfiguration(_schedulerConfiguration.interval(), TimeUnit.MINUTE);
	}
- Activate Scheduler.
- To activate the scheduler, we override the activate method of the scheduler.
						@Activate
	@Modified
	protected void activate(Map<String, Object> properties) {
		_schedulerConfiguration = ConfigurableUtil.createConfigurable(SchedulerConfiguration.class, properties);
	}
3) Liferay JOB Scheduler
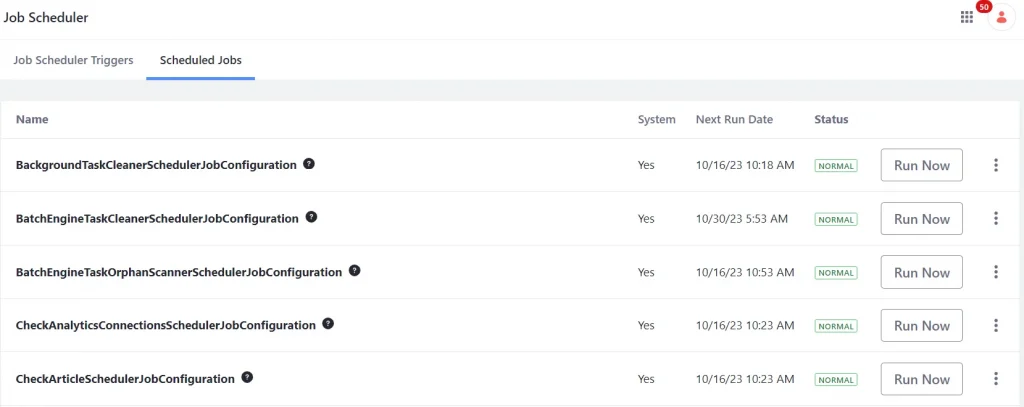
- Liferay provides the option to view scheduled tasks and make lots of changes to them.
- To access this feature, go to Control Panel → Configuration, where we can find the ‘Job Scheduler’ option.
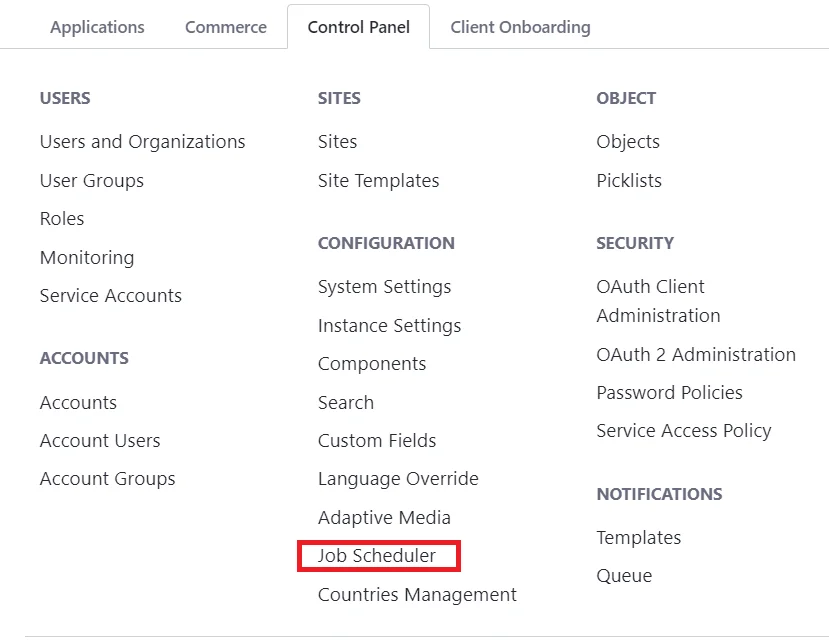
- In this section, we can manage all scheduled Job schedulers and even add new Jobs.

- When we navigate to the scheduled jobs section, we can perform the following actions:
- View all scheduled jobs.
- View the next scheduling time for each job.
- Check the status of each job.
- Run any job at any time by clicking the RUN button.
- Pause or resume jobs as needed
