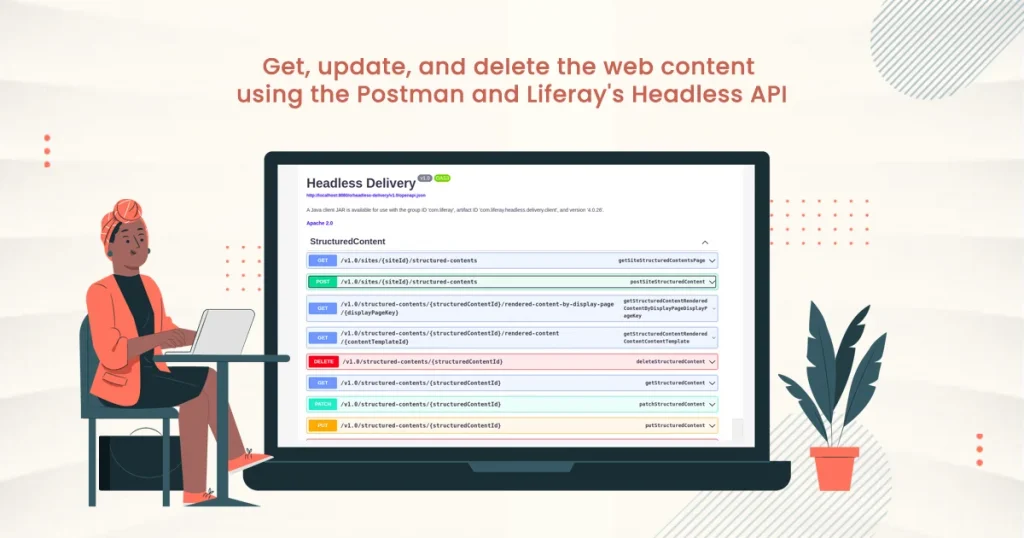
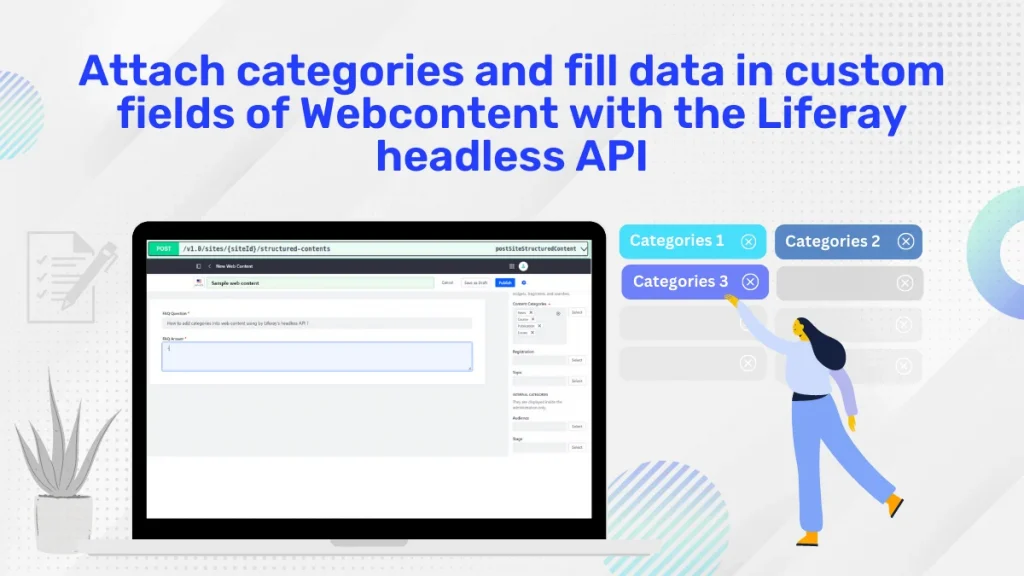
Problem : Creating web content with the help of the rest api.
Solution : We can use the Liferay Rest API, which creates the web content programmatically.
Benefits :
- Liferay provides the REST API for the creation of web content with localization.
- With this API, we are able to create our own custom implementation to create the web content as per our needs.
Prerequisites :
- Java
- Liferay portal 7.2 +
- Basic knowledge of Liferay
Environment Requirements :
- Liferay Portal
- Postman
Follow the following steps to post a web content on the Liferay Site.
- We have two ways to post a web content in liferay which are as follows.
- From the postman.
- From the Liferay Rest API editor
- From the postman:
- Add a new request and make the request type “post“.
- Enter the following URL in the “Enter Requested URL”.
http://localhost:8080/o/headless-delivery/v1.0/sites/${siteId}/structured-contents
- You have to enter the site Id in the url in which site you have to create the webcontent.
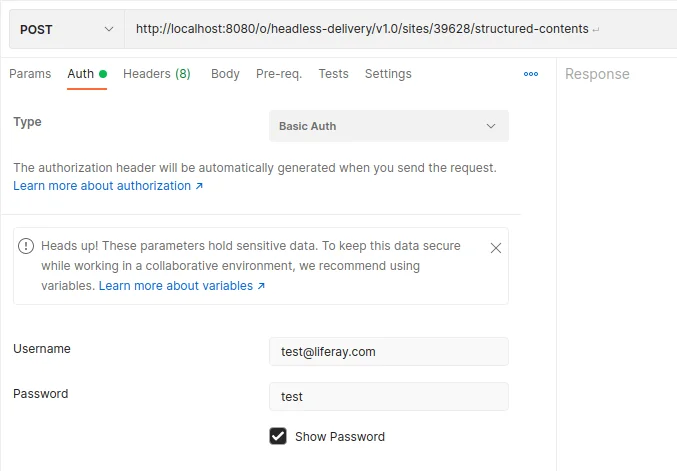
- Now we have to assign the authorization.
- Select the type as Basic Auth.
- Enter the username and password of the admin user.
- Now we have to assign the authorization.
- Select Body from the Navigation on the postman.
- Select “raw” from the first drop down and select “JSON” from the second drop down menu.

- Enter the Json Object in following format.
{
  "actions": {},
  "availableLanguages": [
    "en-US",
    "ar-SA"
  ],
  "contentFields": [
    {
      "contentFieldValue": {
        "document": {
          "id": 113029
        }
      },
      "contentFieldValue_i18n": {
        "ar-SA": {
          "document": {
            "id": 113019
          }
        },
        "en-US": {
          "document": {
            "id": 113029
          }
        }
      },
      "dataType": "document",
      "label": "File Upload",
      "label_i18n": {
        "en-US": "File Upload"
      },
      "name": "file_upload"
    }
  ],
  "contentStructureId": 50803,
  "datePublished": "2021-08-30T02:14:00Z",
  "siteId": 39628,
  "title": "Webcontent created for the testing",
  "title_i18n": {
    "ar-SA": "تم إنشاء نص ملف جديد آخر",
    "en-US": "Webcontent created for the testing"
  }
}
› Brief description of the JSON keys are following.
- availableLanguages: –
- Enter the languages that the web contents will support the localization.
- ContentFields :-
- Content Fields will be responsible for giving the data to the structured input that we have used for web content creation.
- In our case, we have a repeatable field in the structure of Web content
- ContentFieldValue : –
- Content Field Value will fill in the data in the structure of Web content.
- In our case, we have the repeatable file upload field. That’s why we are providing the document details under the content field value.
- In the “contentFieldValue” key only, it will contain the data of the default-language set on the liferay.
- If we want to localize it. This means if we want to add a document to the language ID, Then we have to use “contentFieldValue_i18n”.
- availableLanguages: –
- contentFieldValue_i18n : –
- This Content Field Value will be responsible for the localization of the Webcontent.
- Webcontent Data Will Be Different According to Their Locale (Example :- “en-Us” and “ar-SA”).
- As per the localization, we have to provide the document ID for the different language support.
- ar-SA :-
- We have to localize the document details under this language to attach the document to the Arabic version of web content.
- en-US :-
- We have to provide the document details in this language to attach the document to the English version of the web content.
- document : –
- Document will be responsible for attaching the document file to the webcontent.
- Id : –
- In this ID key, we have to provide the document ID of the document that we have to attach.
- dataType : –
- This will be the data type of the structured content field.
- label : –
- Enter the languages that the web contents will support the localization.
- label_i18n : –
- label_i18n will be responsible for the localization as per the “contentFieldValue_i18n”.
- name : –
- Enter the languages that the web contents will support the localization.
- contentFieldValue_i18n : –
- contentStructureId :-
- This will be the structure ID of the web content that will be created.
- datePublished :-
- This will set the “Display Date” over the Web content fields.
- siteId :-
- Site ID: Which site do we have to create the Webcontent.
- title :-
- Title of the Webcontent We have to enter the title of the default language IDtitles of the Liferay .
- title_i18n :-
- This title_i18n will be responsible for the localization.
- We have to enter the titles of different languages that we have allowed in the “availableLanguages”.
- Like the following.
- ar-SA :-
- We want titles in Arabic, so we will put the Arabic conversion or the Arabic version title of webcontent.
- ar-SA :-
- contentStructureId :-
- After adding the json object to the post Body.
- Post the request and if you get 200 response codes, then Web Content has been added to the Liferay site.
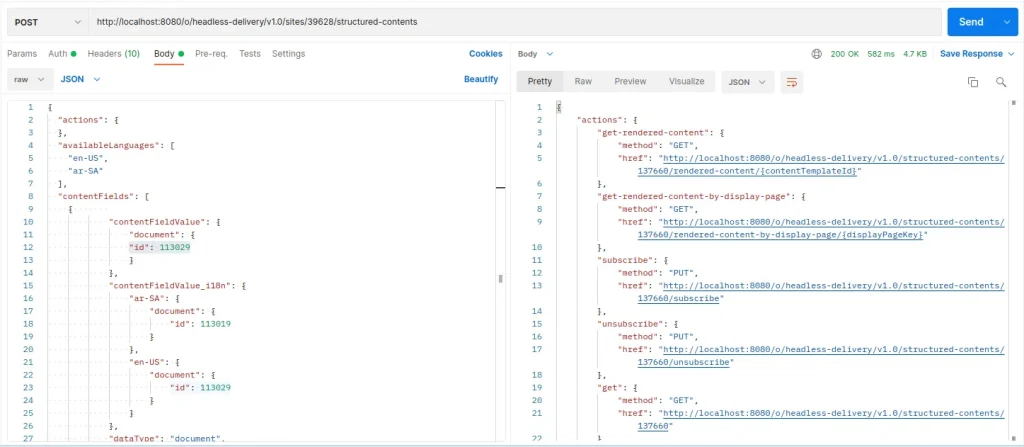
- Make sure you get the success code 200 and you will get the response.
- If you get a success code 200, but if you do not get the response, then there is some issue with the authentication.
Note:- Make sure you enter the URL and do not have a blank space after the URL completion.
- From the Liferay Rest API Editor :
- Login as an admin on the Liferay Portal.
- Access the following URL to access the Liferay Swagger editor.
http://localhost:8080/o/api
- Access the accordion called “StructuredContent”.
- Enter the site ID that you want to create the webcontent.

- Enter the Json Object in the Request body.
{
  "actions": {},
  "availableLanguages": [
    "en-US",
    "ar-SA"
  ],
  "contentFields": [
    {
      "contentFieldValue": {
        "document": {
          "id": 113029
        }
      },
      "contentFieldValue_i18n": {
        "ar-SA": {
          "document": {
            "id": 113019
          }
        },
        "en-US": {
          "document": {
            "id": 113029
          }
        }
      },
      "dataType": "document",
      "label": "File Upload",
      "label_i18n": {
        "en-US": "File Upload"
      },
      "name": "file_upload"
    }
  ],
  "contentStructureId": 50803,
  "datePublished": "2021-08-30T02:14:00Z",
  "siteId": 39628,
  "title": "Webcontent created for the testing",
  "title_i18n": {
    "ar-SA": "تم إنشاء نص ملف جديد آخر",
    "en-US": "Webcontent created for the testing"
  }
}
- Please consider the postman method “Json Object” key’s explanation.
- Execute the Rest API.
- Make sure you get the success code 200 and you will get the response as well.
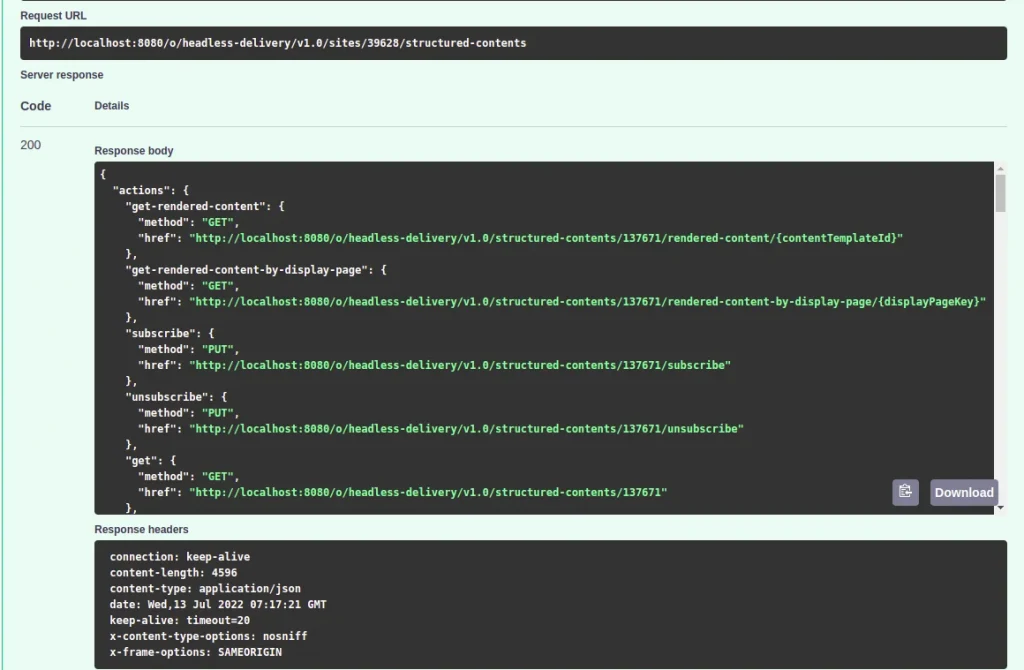
- Your web content has been created successfully.
